
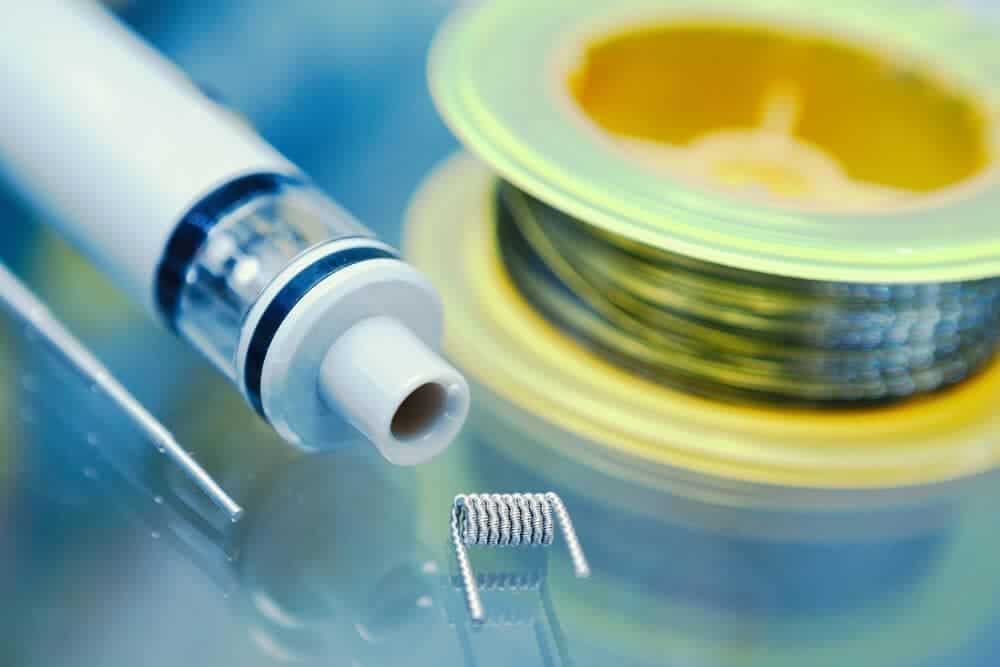
Sooner or later, every vaper looks at their pre-made coils and decides to build a coil on their own. The reasons behind it might be very different. Some users do it for fun, others want to apply their engineering skills, and there are some who do it to save money.
In any case, building vape coils is a common practice among the users of e-juice vapes. Dab pens for wax and dry herb vaporizers, however, cannot be easily rebuilt. Their heating element is rather different.
Before you can get down to making your own coil, there are certain things you need to learn about coil building. Get short and accurate information about types of wire, tips on wicking a coil, as well as creating your first working coil. With the help of these tips, you will be ready to vape proudly with your DIY coil in next to no time.
What Wire Material to Choose?
A good vape coil has a good durable wire in it. The most popular wire types, used for modern vape coils, are kanthal, nickel, nichrome, stainless steel, and titanium. Stainless steel, nickel, and titanium are temperature control wires, and kanthal with nichrome are wattage control wires. You can check the vape wattage chart here to select the best wattage setting for the ultimate performance of your vape mod.
 Kanthal
The most commonly used base for vape coils is made of kanthal wire. It has been widely used for over ten years now. This is a highly durable metal that is easy to work with. Kanthal coil is also resistant to oxidation and holds its shape well (even when rewicking), and it simply gets the job done Its heat-up time is pretty good. Speaking of competition kanthal vs. NiChrome, here are the strengths of the former.
The advantages of kanthal are as follows:
– Highly affordable
– Easy to get anywhere
– Easy to handle
– Holds shape greatly
The disadvantages of kanthal are as follows:
– Not the fastest heat-up time
– Not compatible with temperature control vaping
 Nickel
Nickel is one more material that can be used for the DIY coil. It is easy to source but difficult to work with. This material is also often referred to as Ni200, which stands for pure nickel. Nickel can only be used in temperature control mode. If you heat it up to more than six hundred degrees Fahrenheit, it will produce graphite, which is harmful to inhale.
Nickel is also a known allergen, so you should be careful with this material if you are inclined to allergic reactions of any kind. If you’re not allergic and use nickel in TC vaping, it is perfectly safe for you.
The advantages of nickel are as follows:
– Accessible and easy to find
– Speedy heat-up
– Preserves the flavor well
The disadvantages of nickel are as follows:
– Can cause allergies
– The soft material might be hard to work with
– Holds the shape poorly
 NiChrome
NiChrome is another commonly used metal that has even better ramp-up time than kanthal. It is a composite of nickel and chromium that is very easy to find and work with. This material holds the shape well. Use a NiChrome calculator to find the material of the needed voltage, gauge, and length.
One of the best calculators can be found here. However, NiChrome is an allergen, so you should be careful with this material if you are inclined to allergic reactions of any kind. You should also be careful when using a nichrome coil because this material can catch fire during excessive dry burns. Technically, NiChrome can be used in TC mode. In a competition NiChrome vs. kanthal, the former has many strengths.
The advantages of NiChrome are as follows:
– Speedy heat-up
– Easy to find
– Affordable
– Easy to handle
– Holds shape well
The disadvantages of NiChrome are as follows:
– Can cause allergies (nickel is an allergen)
– Could be not available in some local stores
– Low melting point (compared to kanthal)
 Stainless steel
Stainless steel is one more material that is widely used for DIY coils. It has a fast ramp-up time. There are different kinds of stainless steel, and the purity of the material differs from one kind to another. For example, some have next to no nickel, while others have a substantial amount of it. SS 304, 430, and 316 grades of stainless steel are the best for vape coil builds.
Many vapers choose stainless steel over other materials because it does not interfere with the taste and the flavor of the vapor. Stainless steel vape wire can operate in both modes, temperature control, and wattage control. It makes stainless steel a perfect choice for those vapers who haven’t decided between temperature control and wattage control yet.
The advantages of stainless steel are as follows:
– Affordable
– Easy to work with
– Holds shape well
– Speedy heat-up
– Preserves the flavor
The disadvantages of stainless steel are as follows:
– It’s hard to find usable gauges of some stainless steel grades
– Certain grades can cause allergies due to high nickel content
– Certain grades are harder to work with than the other
 Titanium
Titanium is one of the best materials for a coil. It is easy to work with, but not so easy to find. This material does not interfere with the taste and the flavor of the vapor and does not cause allergies. For this reason, it is an excellent choice for a DIY vape coil. Titanium vape wire works great in TC mode.
There are some rumors that it is dangerous for your health if you heat it because titanium dioxide will be released. However, the TRC of titanium is stable, and with a functioning TC mod, there is nothing to be worried about. There is no way your mod can heat the material to over 1130F.
The advantages of titanium are as follows:
– Operates well in TC mode
– Preserves flavor purity
– Easy to work with
– Strong and reliable
The disadvantages of titanium are as follows:
– Not easy to find
– Titanium fire is hard to distinguish
– Not compatible with wattage
– Toxic when heated to critical temperatures
 What Vape Coils to Choose?
Coils for Clouds
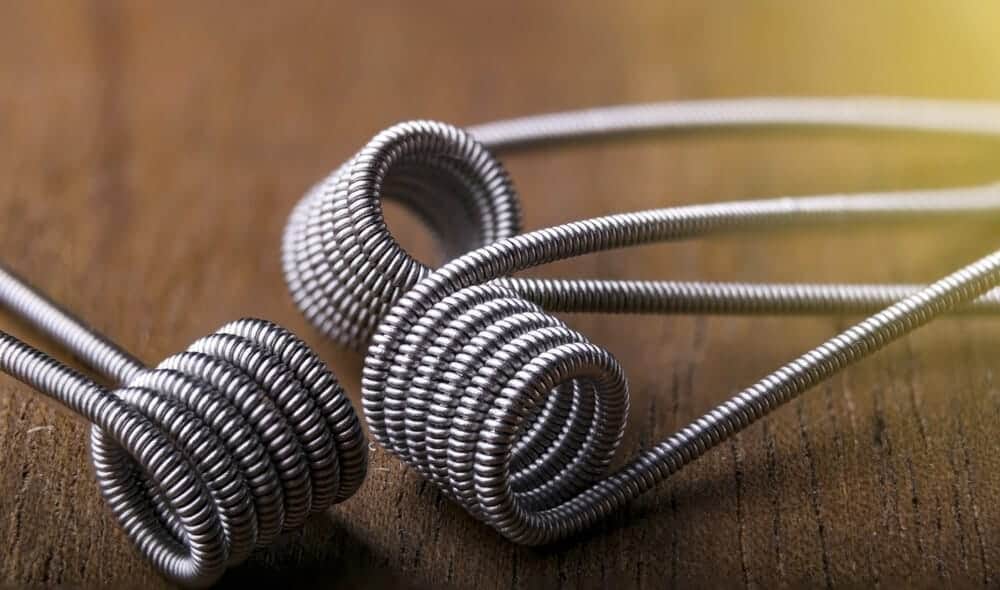
If you are obsessed with huge clouds of vapor and cannot imagine how one can enjoy little puffs, the Clapton coil is the answer. The Clapton wire coil is one of the best options for clouds. Twisted 22 Gauge is a good choice for cloud-lovers. With Clapton coils, you will blow clouds that will leave all the other vapers jealous.
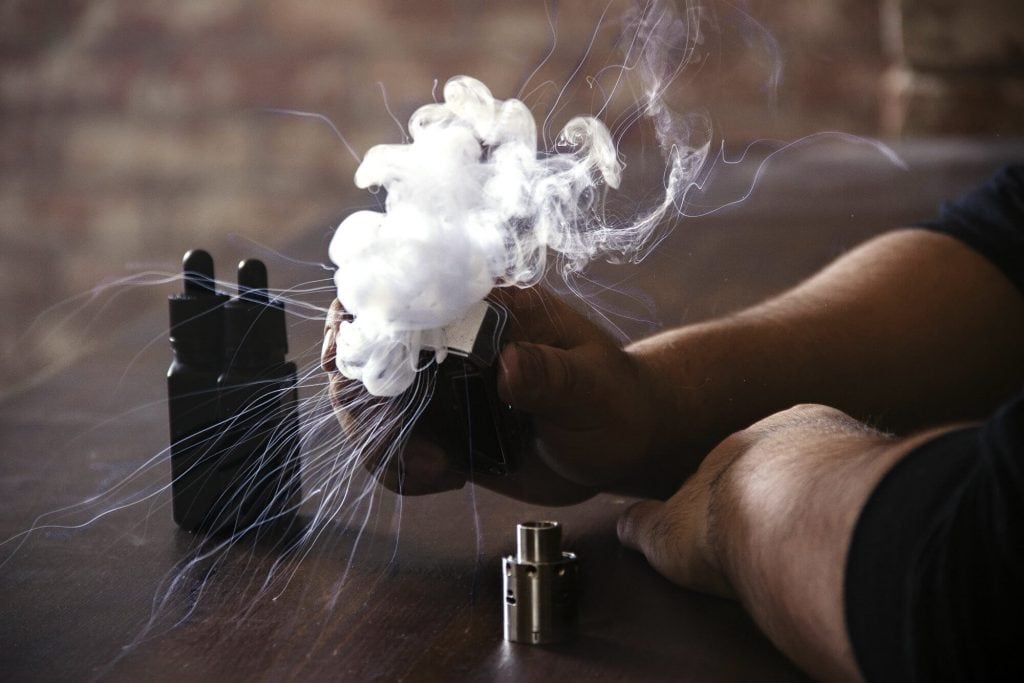 If you want to build a cloud-chasing coil, make sure to take care of the airflow. Do not stuff too much cotton into your coil because it will kill the clouds. Also, opt for lower gauge wire that is thicker because such wire has more surface area for the e-liquid to evaporate and create clouds.
The inner diameter of the build matters as well: the bigger it is, the better the contact between the cotton and the wire will be. One more thing you should take care of is to align the coil with the center pin post so that the e juice is absorbed quickly and evenly.
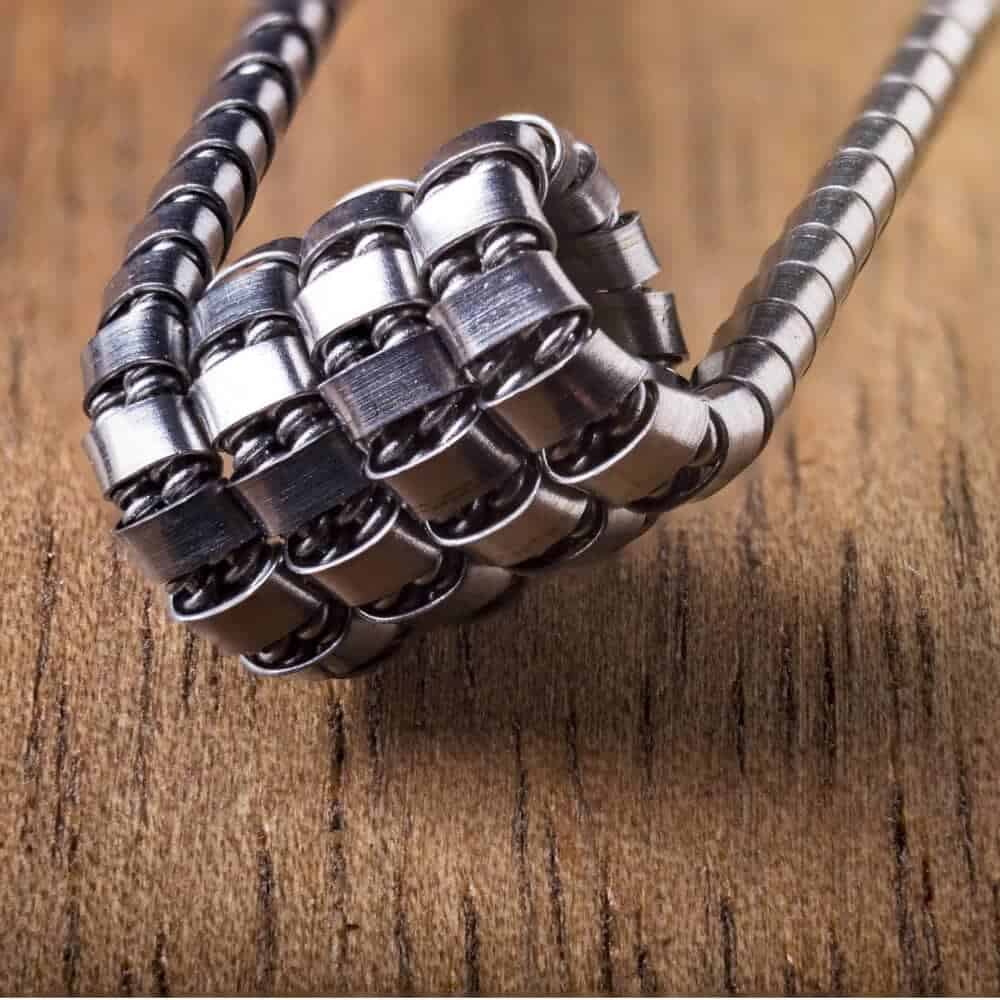
Coils for Flavor
If you value flavor more than clouds, take a look at the staple staggered fused Clapton coil. This coil will preserve all the beauty of the flavor and deliver it to you for the utmost pleasure. The framed staple alien wire is another great coil for vapers chasing excellent flavors.
The best coils for flavor have a little airflow. With a smaller airflow, the air gets more saturated with the particles of the flavor. To make a smaller airflow, pack a little more vape cotton into your coil, but keep enough space for the air to circulate. Also, leave a small hole for the flavor particles to reach the air.
Experienced flavor chasers argue that metal matters a lot when it comes to flavor. They say that stainless steel 316L and Ni80 are the best options. The choice of wick type is very subjective, but there are some claims that Japanese cotton wicks are the best for flavor.
The best vape coils for flavor aren’t easy to make, and it’s perfectly normal if you don’t succeed from the first try. Look for alien wire coil video tutorials to make the framed staple alien coil. It’s considered to be one of the best coil options for flavor. Also, fused Clapton wire is another great choice for a DIY coil.
Why Should You Care About Wire Type and Size?
In case all the details considering wire materials and coil type/size seemed excessive to you, we’ll take a minute to explain why those parameters matter a lot. First of all, these parameters influence the performance of your vape in many ways, the most critical being vapor production, flavor and ramp-up time. If you use one flavor with five different wires, you will get five different flavors.
 Speaking of wire size, vapers use term wire gauge, which means wire diameter. There are five most popular wire gauges that vapers use. They are 22, 24, 26, 28, 30, and 32. The thinner the wire, the bigger the numerical value of the gauge. For example, 32 gauge wire is thinner than 30 gauge wire.
Bigger gauge number means higher resistance and faster heat-up time, whereas smaller gauge number means lower resistance and slower heat-up time. To measure the resistance of the coil, you can use a Clapton coil calculator.
The heat-up time is an important thing to consider before building your own coil. If you want to vape instantly after you press the start button, go for high-gauge wires. Low-gauge wire takes time to heat up, so a coil with such a wire will make you wait a bit before you can take a hit.
A Note on Temperature Control Vaping Vs. Wattage Control Vaping
There are two ways of vaping control: wattage control and temperature control. These modes are not interchangeable and work differently. It is so because different types of wire act differently under room temperature and when heated.
How to Build Your First Coil?
 Currently, there are so many tutorials on how to build a coil. In this post, we’ve gathered only the most important information regarding what you need for a DIY coil and what it takes to make one.
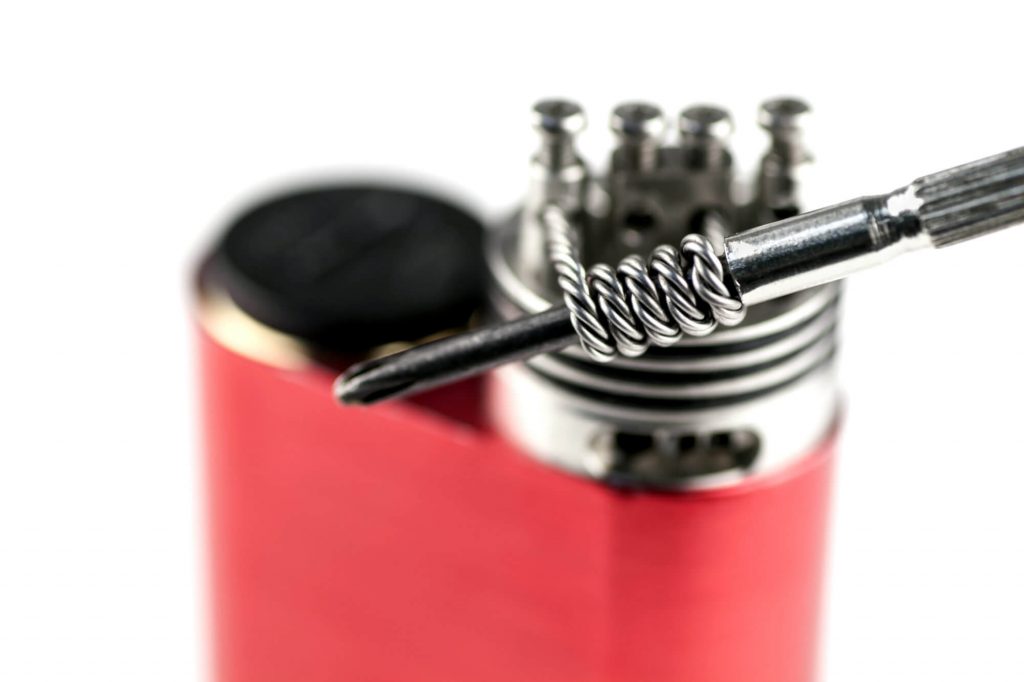
Before you can get down to building the coil, here are the tools and materials to get beforehand:
– A 2 mm screwdriver (or a coil making tool)
– Vape wire (metal of your choice)
– Wire cutter/nail clippers
– Tweezers (with a ceramic tip)
– An ohms reader
– A screwdriver for the RDA
– A lighter or a propane/butane torch
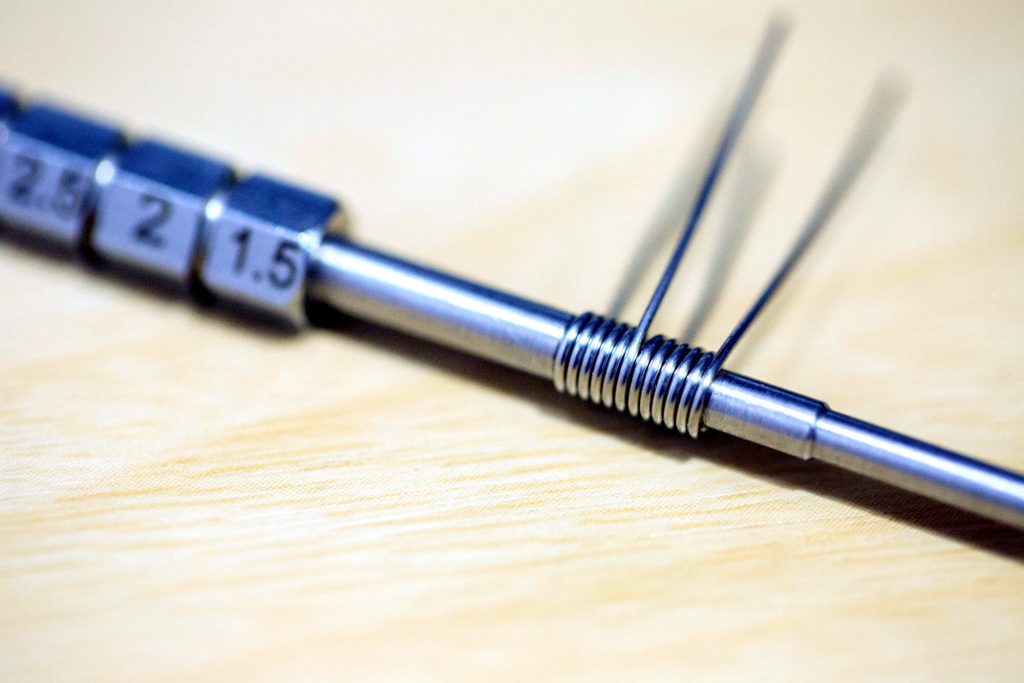
With this set of tools and materials, you can start building your first coil. To determine how many wrap coils you need to make for your coil, use the steam-engine.org vape coil calculator. After you determine the needed amount of wraps, oxidize the wire by heating it with a torch or a lighter.
 The wire will become less springy, and it will be easier to handle. To wrap the coil, cut four to five inches of wire and make wraps with the help of a screwdriver. Make wraps close to one another, but avoid overlaps. When you finish the needed amount of wraps, it’s time to install the coil.
To install the coil, you need to unscrew the post of your RDA, position the ends of the coil carefully into the holes with the help of a screwdriver, and tighten the post screws carefully. After you make sure that the coil is positioned well in the center of the RDA, trim the legs with the nail clippers.
Next, test the coil by firing it. Make sure to check the resistance of your newly installed coil with an ohm reader. Use a coil resistance calculator to determine the right value. You can find a good calculator here. Then, attach your RDA to your mod and fire it till there is glow.
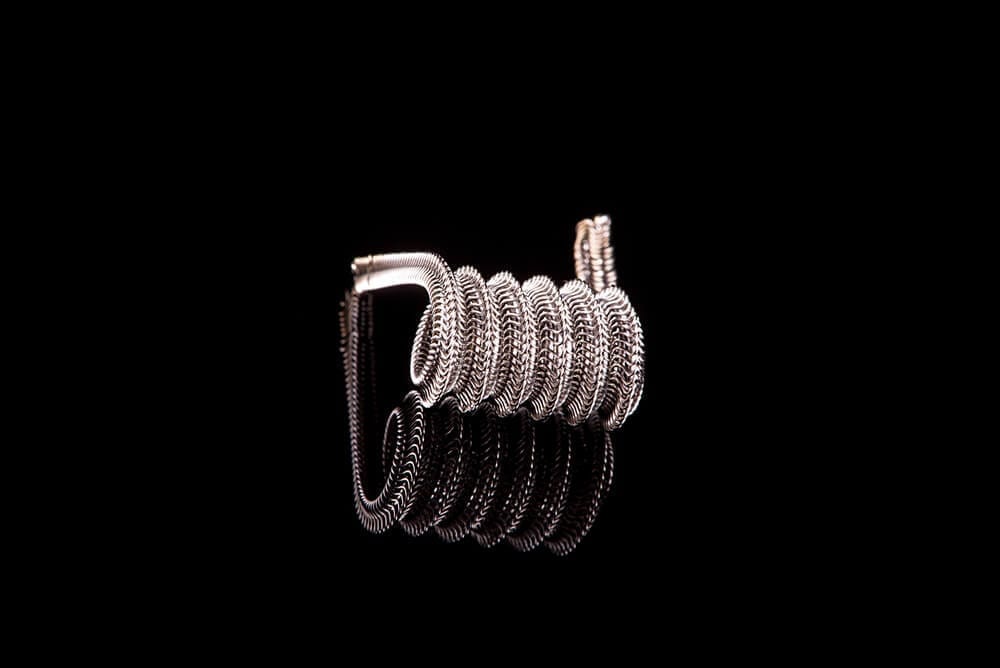
Check whether the heating is even. If not, pinch the coil together with the help of the tweezers and try heating it again. As you can see, single coil builds are not that difficult to make and test. However, there are so many RDA coil types you could try, from the simplest to the most exquisite ones (like twisted coils and juggernaut coils).
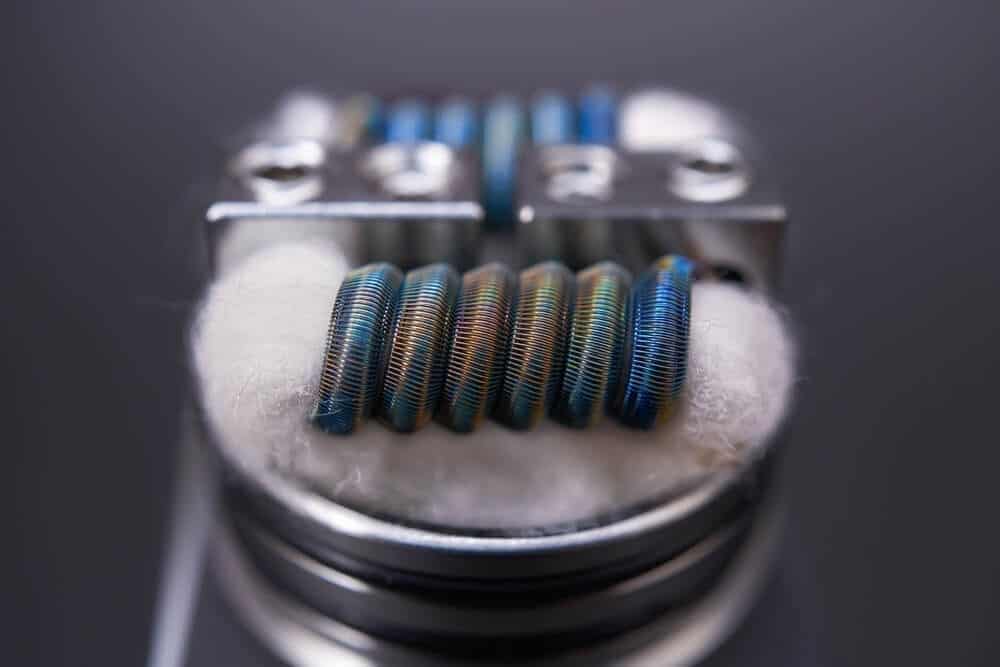
How to Wick a Vape Coil?
 After you made a wire coil, you need to wick it. First of all, you need to choose a wicking material. You can choose between silica, organic cotton, rayon fiber, ecowool and Japanese cotton pads. Let’s say you chose cotton since it’s the simplest and the cheapest coil material one can get.
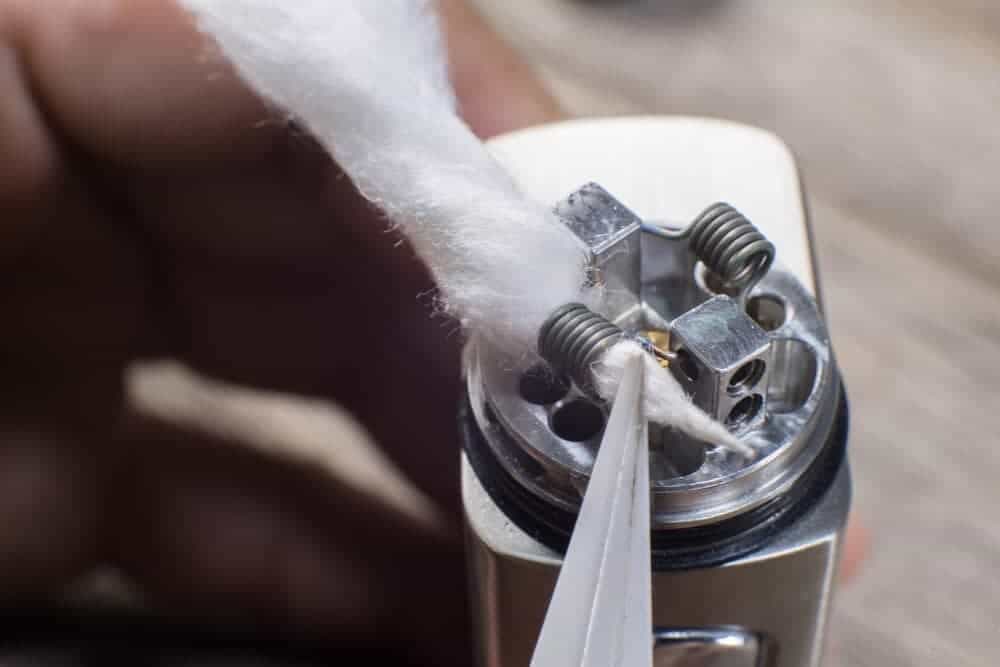
To wick a vape coil, you need to do the following:
– Spread the cotton into a rope that is several inches long;
– Thread the cotton into your coil by pinching the end of the cotton and threading it delicately through the coil (that is already installed on the RDA);
– Cut the residue ends of the cotton and tuck some cotton under the coil. This cotton is meant to fill the juice well.
– Add some e-liquid to your dripper coil and test your new invention.
Final Thoughts
As you can see, building your own coil and wicking it isn’t that hard. If you are an enthusiastic vaper, experimenting with different coils, wickings and flavors should be a lot of fun for you. Make sure to use high-quality materials and follow all the safety precautions when making DIY coils. We wish you a great vaping experience![/vc_column_text][/vc_column][/vc_row]
0 Comments