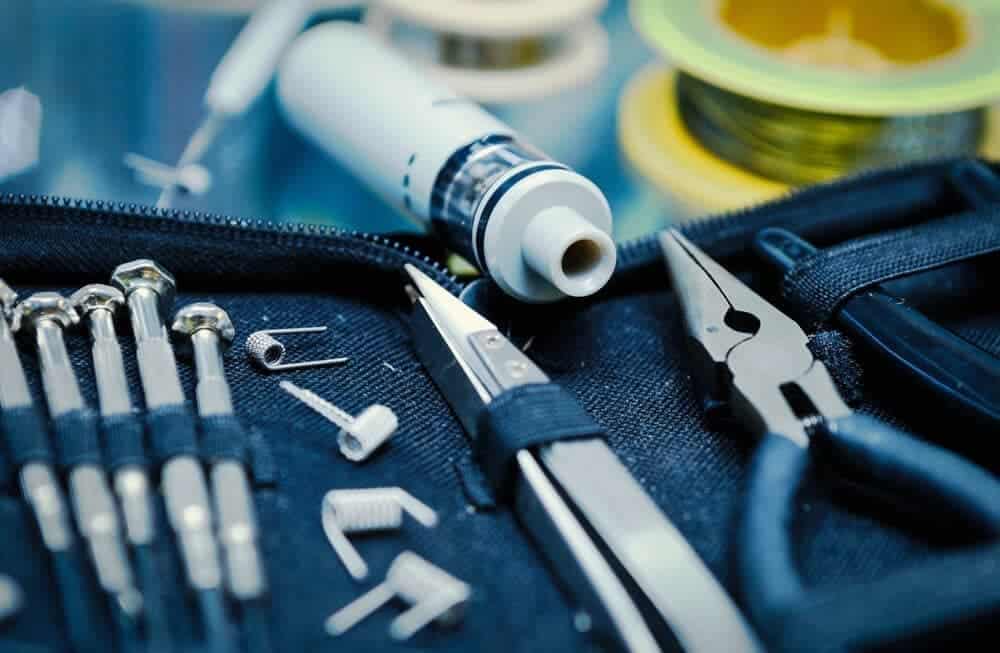
Beginners rarely know that coil priming is one of the critical elements of a successful vaping. When vapor quality starts to fade – it’s time to replace it. There is no ultimate method to do it due to a wide variety of builds.
No wonder there is no single piece of advice on how to prime a new vape coil.
Although priming a coil is a shady domain, there are a couple of steps anyone can follow! We have described them in this brief guide on how to properly prime a coil.
And we shall start it with the most fundamental question:
What is Priming a Coil?
The definition is simple: priming a coil is a saturation of the cotton inside a coil with e-liquid before usage. If there are dry parts in the cotton, it is more likely to burn and give you a dry hit.
Therefore, it is essential to ensure the liquid gets soaked by all the cotton surface.
When to Change Coils?
This one doesn’t have a single answer for all cases as the time to change coils depends on the intensity of use, vape model, e-liquid quality, etc. But there are some common signs; the coil needs replacement:
- The flavor gets dull;
- The vapor is less intense;
- You have burnt taste.
Why to Prime a Coil?
This way, you make the life of atomizer longer, and proper coil priming caters to the high quality of vaping experience. If you saturate the wick properly, the wicking material will not overheat, meaning freedom of the nasty burnt hits.
As the wick is moist at the beginning of a vaping session, neither of the fibers gets damaged or quickly work-out.
Besides, as the coil is primed, that is saturated with e-liquid before vaping a user obtains a whole new impression of the first vaping session.
With a dry coil, you get a couple of dry hits and must wait until the vapor gets pleasant enough to inhale.
With the adequately primed wick, the first draws of vapor overwhelm with density and quality, so that you get the best of your e-liquid from the start. Little hustle is another pro.
Another reason for priming a coil is the longevity of the vape itself. As the wick is too dry, instead of heating e-liquid, the device heats atomizer parts, that ruins the materials — this way the vape serves you a shorter time.
Since you know why to prime a coil, the next question is how to prime a vape coil.
How to prime a coil?
Priming a coil for the first time may seem not that easy, but with a little bit of trying, everything gets simpler. The whole thing falls into several steps:
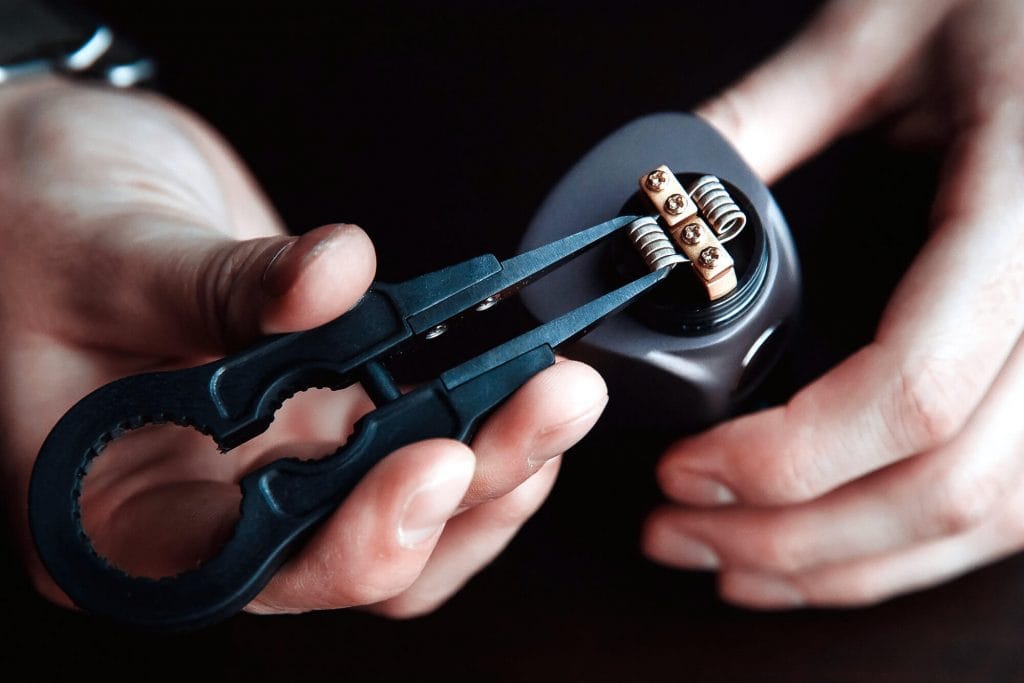
Removing the old coil
Experienced users know when it’s time to remove the old coil. The flavor vapor gets less intense, and the flavor fades. Sometimes a slightly burnt taste appears.
As you spot these symptoms, it’s time to dispose of the old coil. There is no single answer to the question on how to change the coil, but usually, you can detach the old coil from the rest of the vape by screwing it off. Remove the old coil from the tank or atomizer.
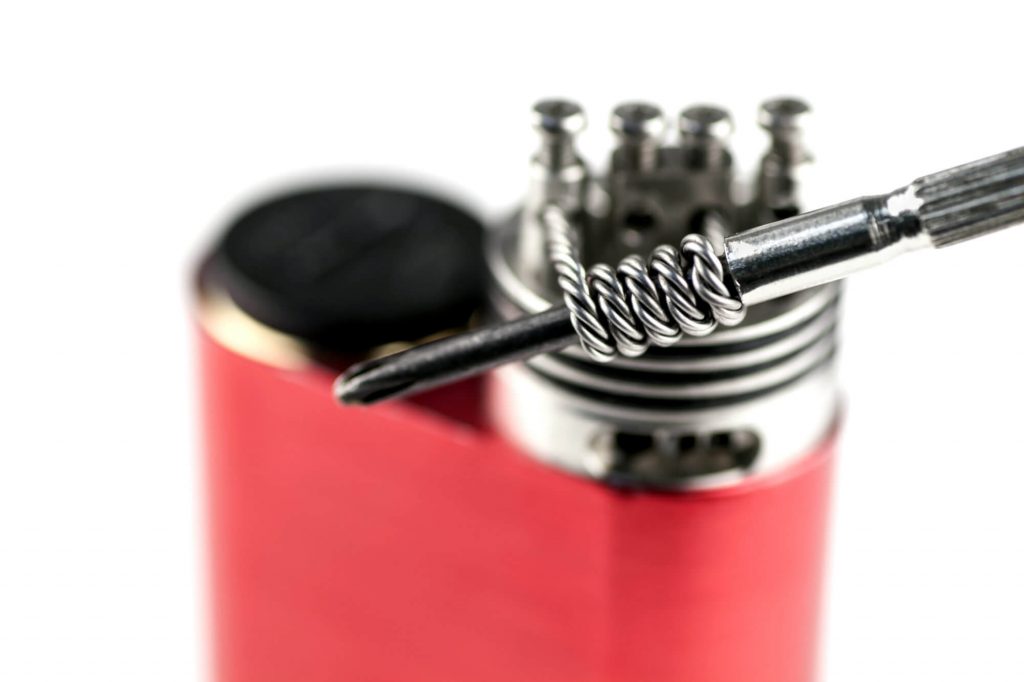
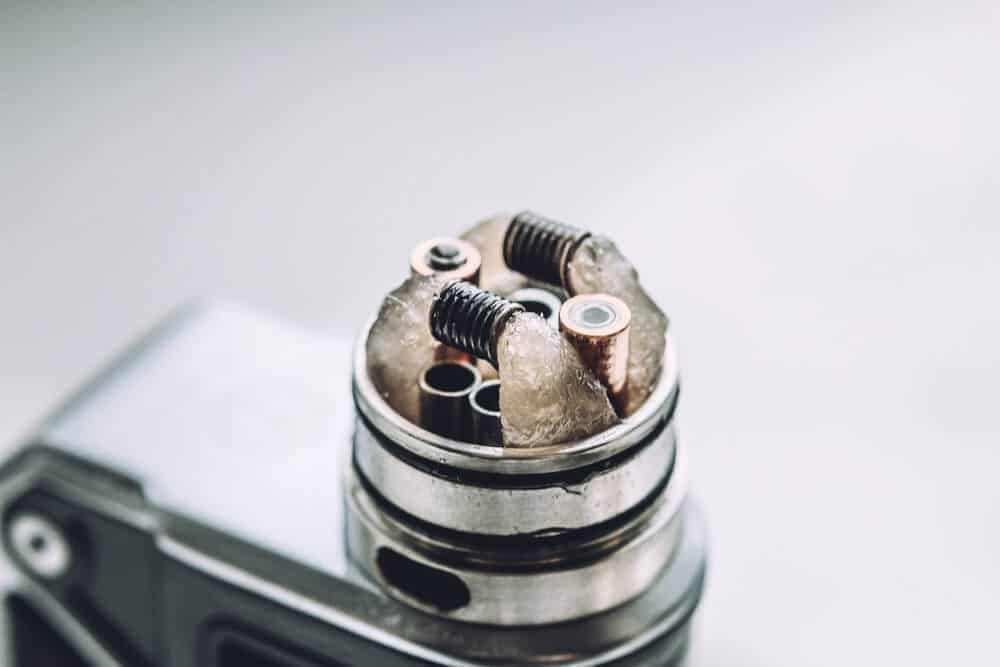
Putting the new coil
At this point, you have to attach the brand-new coil where the old one was before. It’s simple; just carefully read the manual. No e-liquid is needed until the coil is connected correctly.
Saturation
On this step, you have to saturate the wick. First, make sure the coil is securely attached, so no drop of e-liquid gets wasted.
Saturate the wick by dropping some e-liquid on the cotton. Before, find the place where the wick meets the e-juice tank. It can be either somewhere at the bottom of the wick or near the tank, depending on the model.
Add a drop of juice into every juice hall and continue adding e-liquid in small portions until the wick seems fully saturated.
Avoid flooding
That’s a typical mistake of newbies, who don’t know how to prime a new coil properly. Too much of e-liquid causes flooding and leaking, and other unpleasant experiences. Knowing when to stop is essential.
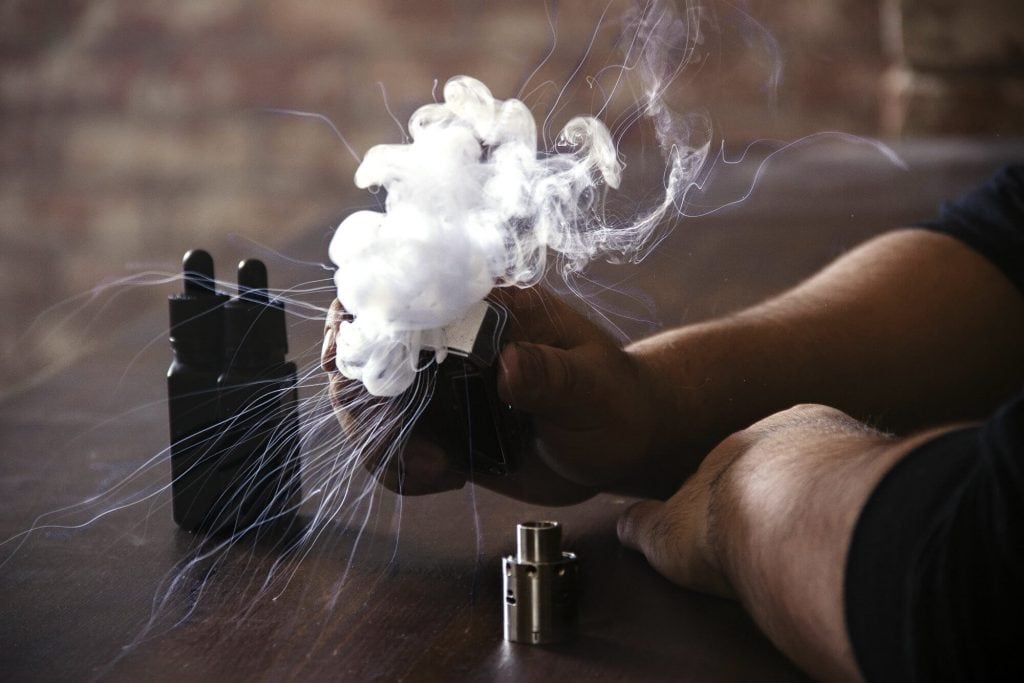
Siphoning e-liquid
At this step, you have to reassemble the atomizer and fill the tank. Take four or five drags before pressing the firing button. That caters to bringing more e-liquid to the wick and complete saturation of the coil.
Breaking in
Avoid starting at full power and the highest points of temperature. After starting at low settings, you may gradually increase the heat until you reach the desired level.
Reaching new levels
Now, you are ready to start experimenting with flavor and settings. Your vaporizer is ready to pamper you with the highest levels of its performance possibilities.
Summing up…
We hope we’ve managed to give you a clear picture of how to prime a vape. We have to mention; there is no single way to do it since the variety of coil builds is vast.
But the elementary steps are similar in every case. As you manage to do it successfully, you’ll all the best of the vaping experience.
[/vc_column_text][/vc_column][/vc_row]
Great post. Informative